Tips on selection of masking tape and surface prep for sealant and painting work
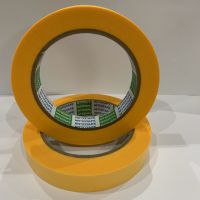
Painting and sealant applications are 2 important activities in construction finishing, having huge impact on the overall finishing quality of civil and industrial construction, in which masking tape plays an extremely important role in finishing quality of painting and sealant work.
In this article, we will summarize key notes in surface preparation and masking tape selection for a perfect finishing edge of paint and sealant.
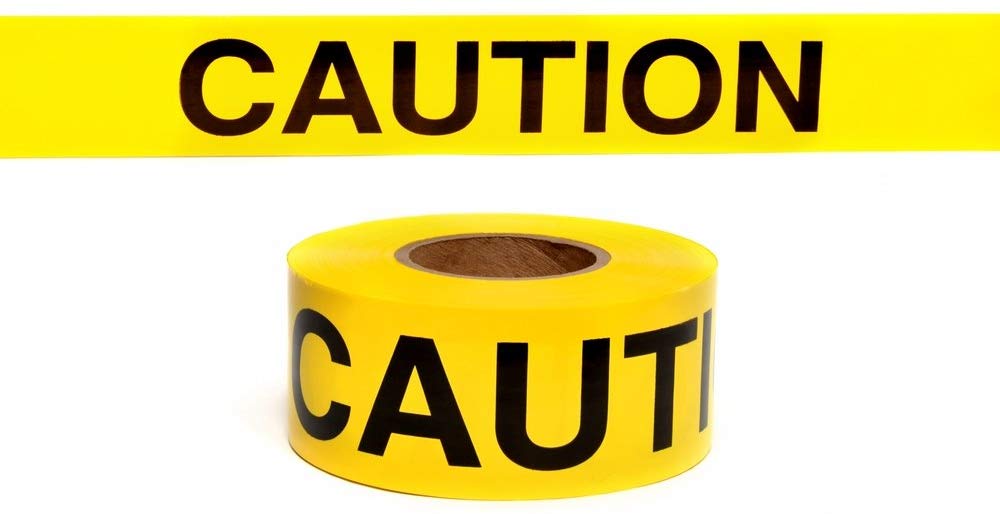
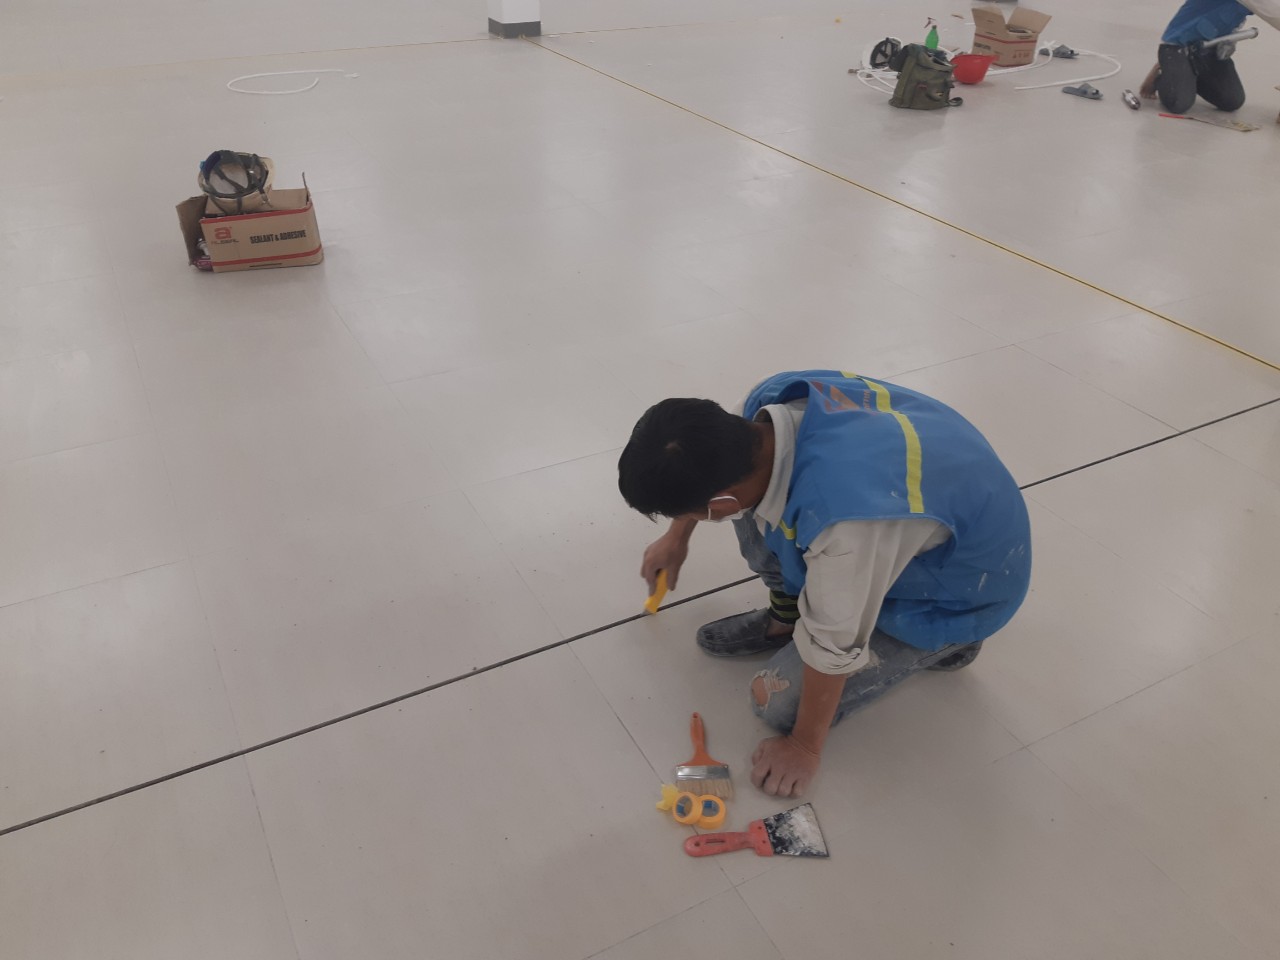
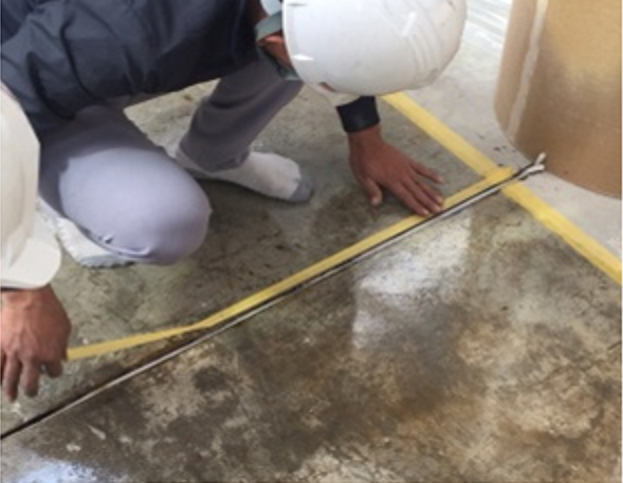

GENERAL FACTORS TO NOTE - CAUTIONS
- Many elements are out of the manufacturers / distributors control such as:
- The surface condition and substrate integrity at time of application & removal.
- Environmental conditions on application & removal (especially temperature)
- The age & condition of the tape, such as tape brand, where the tape is stored or any damage to the tape edges etc.
- Has the tape been tested to assess fit for purpose & all preparation / application instructions been followed or if the tape is heat resistance masking tape type.
- It is recommended not to expose Rubber based adhesive to harsh chemicals and solvents.
- All sales of tapes have limited liability to replacement of tape, if proven to be faulty under the manufactures limited warranty.

SURFACE CLEANING
- Ensure all surfaces to be masked are free from dust, moisture, oils, grease, oxidisation, release agents and all other contaminants
- If using a surface cleaner ensure that it is non-greasy & always use a clean cloth with no loose fibres or cloth particles.
- Ensure that all surfaces are not flaky or damaged in any way that may cause tape application and removal issues.
- “Aim for the best surface for the best result”

TYPICAL APPLICATIONS
- Select the correct tape to suit the application and conditions (especially for interior & exterior use) – for assistance please contact us.
- On application roll off short lengths of tape while applying firm hand pressure. This will ensure accurate, clean paint edges with no paint bleed. DO NOT stretch the tape while applying.
- Tools can be used to ensure tape surface contact, such as plastic applicators & painters knifes.
- Application onto light moist surfaces can be difficult, ensure the correct masking tape is selected and then test to confirm suitability.
- If the masking tape is applied for extended time periods, it is recommended to regularly check small sections to assess any adhesive transfer issues. Especially if the tape is exposed to direct UV light for lengthy time periods.

Tape removal
Tape removal waiting times
• Once you have finished painting, allow the paint surface to dry before removing the tape.
• How long you wait will depend upon on the drying time of your paint product – it must be touch dry.
• If painting more than one coat it is advised to wait till the last coat has sufficient time to dry before removal.
Recommended Temperatures
• Remove tape at air temperatures of between +15c to +40c
• The removal at higher temperatures increases the risk of adhesive transfer & at colder temperatures; the tape is more brittle with the potential for tape tearing.
• Ensure that the masked substrate temperature is at least +10c on removal, this will also assist in reducing any tape tearing or residue issues.
Remove at an angle
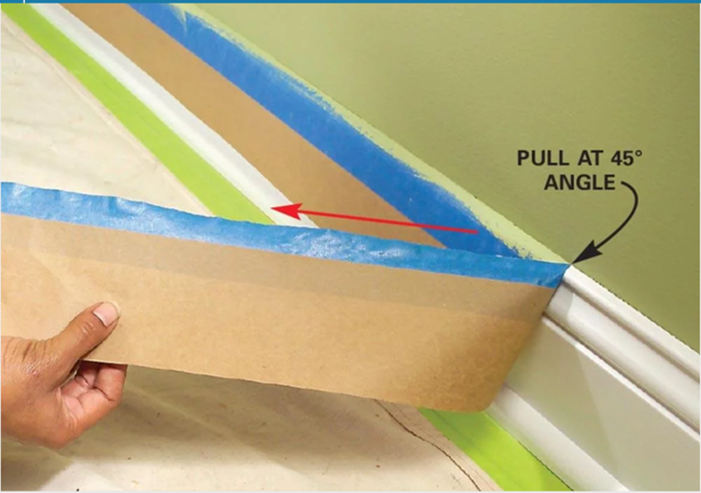
• Recommended to remove the tape back onto itself at an approx. 45 angle, this will assist with any residue issues and a cleaner edge.
• If any adhesive is removing try a 90 angle, also if any paint is coming away with the tape use the edge of a painter’s knife while removing.
Slow & Steady Removal
• Adhesive tapes must be pulled off slowly, steadily & never in jerks, this will reduce the risks with adhesive residue issues & tape tearing. A heavy coating of paint on the tape edge could cause tearing, be aware to try and limit the amount of paint build up in this case. If the adhesive is facing the direct sunlight (UV rays), this can cause adhesive residue issues on removal. Be sure to select our premium acrylic adhesive to limit any issues in this case.
• It is very important to remove the masking tape when the paint is dry not wet and/or sealant not completely cured.
TAPE STORAGE
- Recommend that tapes be stored in the original packaging under dry conditions.
- Ideally at room temperature but not warmer than +30c.
- High relative humidity & direct sunlight to be avoided at all costs.
- Ensure tape edges are not damaged or dirty this can cause tape tearing on application and removal.
- General storage timeframe of 12 months from manufacture applies.
ADHESIVE REMOVAL
- If adhesive residue is left behind first try using soap and warm water to remove it.
- A hair dryer is often used to loosen the adhesive (especially rubber based adhesive types).
- Remove as much adhesive as possible by either rubbing the adhesive off with your fingers, or using a higher tack masking tape over the top of the affected area and pulling it up off the surface.
- Often recommended to test is window cleaners or citrus based cleaners (be sure to test on a small section first to assess any adverse effects).
- Ensure to use a clean cloth when cleaning or removing any adhesive.
- Most window manufactures recommend the following concerning powder coated window frames and adhesive residue issues – first try to remove with soapy water solution or test with turps based products.


